Die-cutting & folding

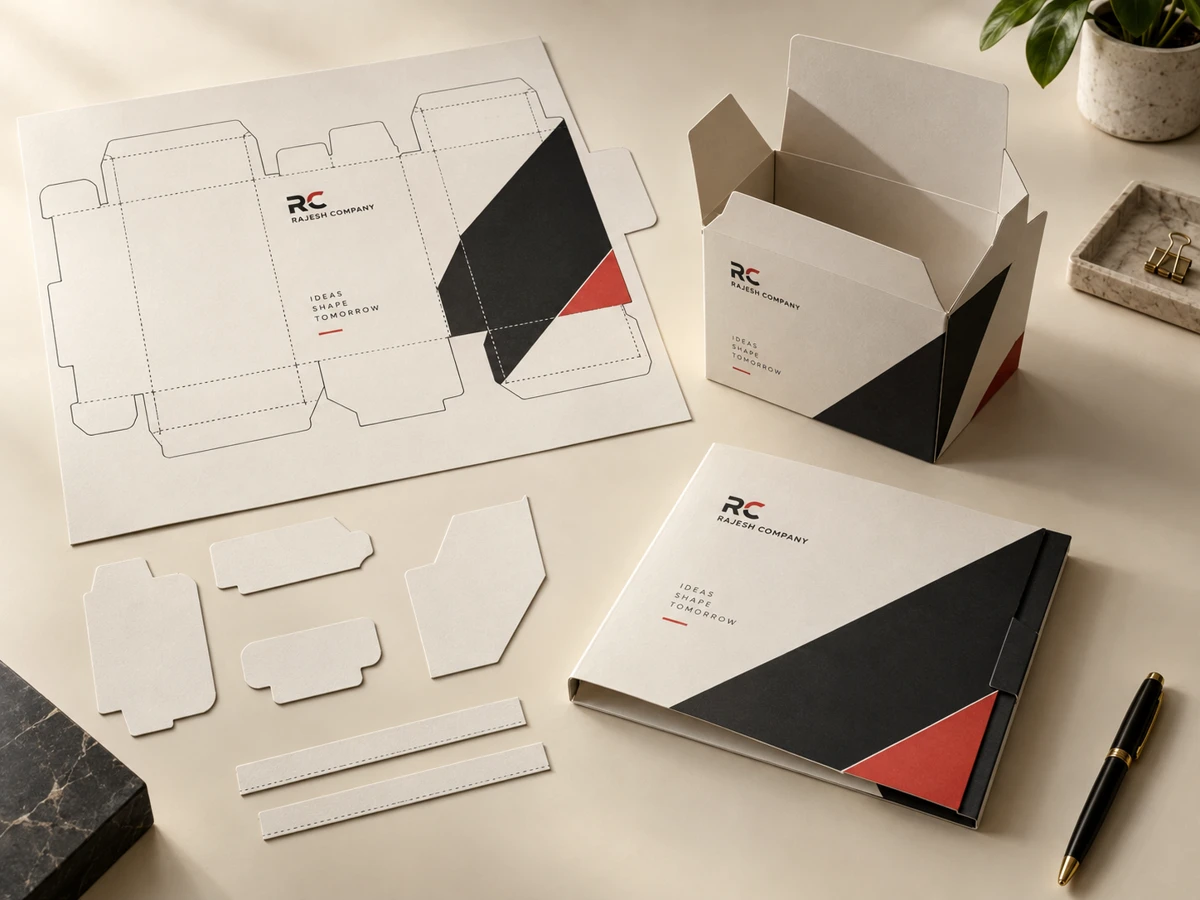
Die-cutting, creasing and folding turn a flat printed sheet into a defined shape or structure. These operations create contours, fold lines and assembled paper or board products.

What the process means

Die-cutting follows a planned outline. Creasing creates a controlled fold line in a sheet. Folding brings panels into their intended arrangement. Check the finished dimensions and structural layout before placing the printed artwork onto the design.

Printed examples illustrating die-cutting & folding

Explore the techniques

A closer look at the processes and the details to prepare for your project.

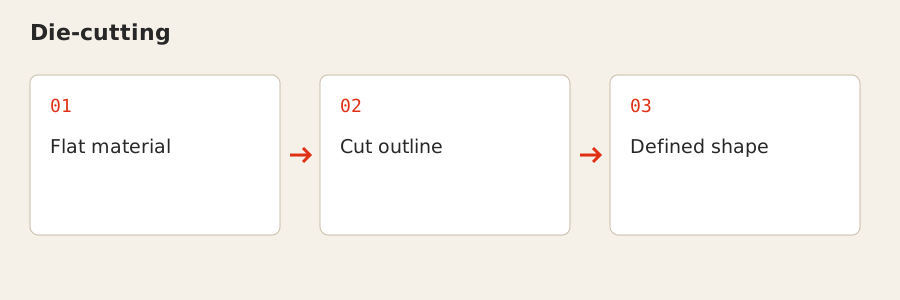
Die-cutting: Flat material → Cut outline → Defined shape

Die-cutting

Die-cutting follows a prepared outline to produce a defined shape in paper or board. The outline belongs to the structural design and needs to align with the printed artwork.

For your project

Used for cartons, shaped pieces and folders. Share the required contour and finished dimensions, and identify any internal cut-outs or features before the artwork is approved.
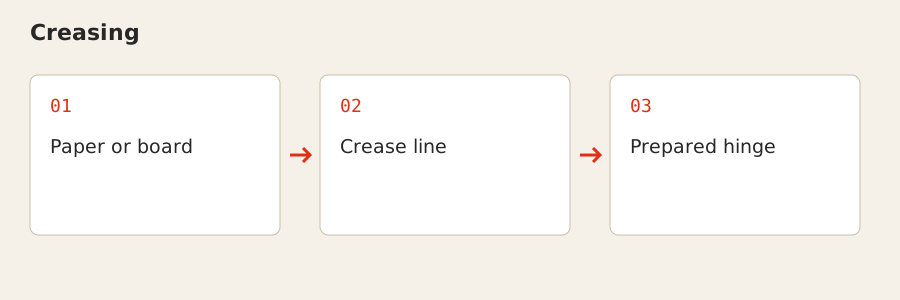
Creasing: Paper or board → Crease line → Prepared hinge

Creasing

Creasing makes a controlled fold line in a sheet, especially where board construction needs a planned hinge. It is a preparation operation rather than the completed fold itself.

For your project

Specify the structural layout and board choice. The position of each crease determines panel boundaries and should be checked against artwork that crosses a fold.

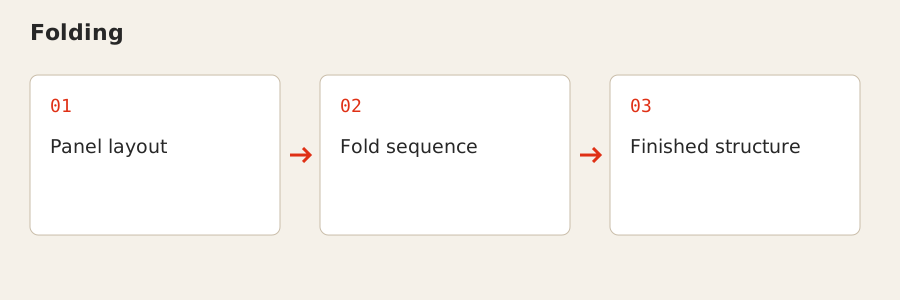
Folding: Panel layout → Fold sequence → Finished structure

Folding

Folding brings panels into their intended order and shape. The flat artwork must account for how the piece will open, close and be read after folding.

For your project

Used for brochures, folders and cartons. Include the fold arrangement and check the final panel order; confirm that key text and branding remain visible in the assembled piece.

Where it fits

  • Folded cartons and paper packaging
  • Presentation folders
  • Shaped printed pieces
Explore related products →

Start with your project

Share your artwork or reference, finished dimensions, quantity and intended use. Include your delivery location and required date.