Finishing

Finishing changes the surface and presentation of a printed piece after printing. Lamination, spot UV, foil details and embossing can give selected areas a different appearance or feel.

What the process means

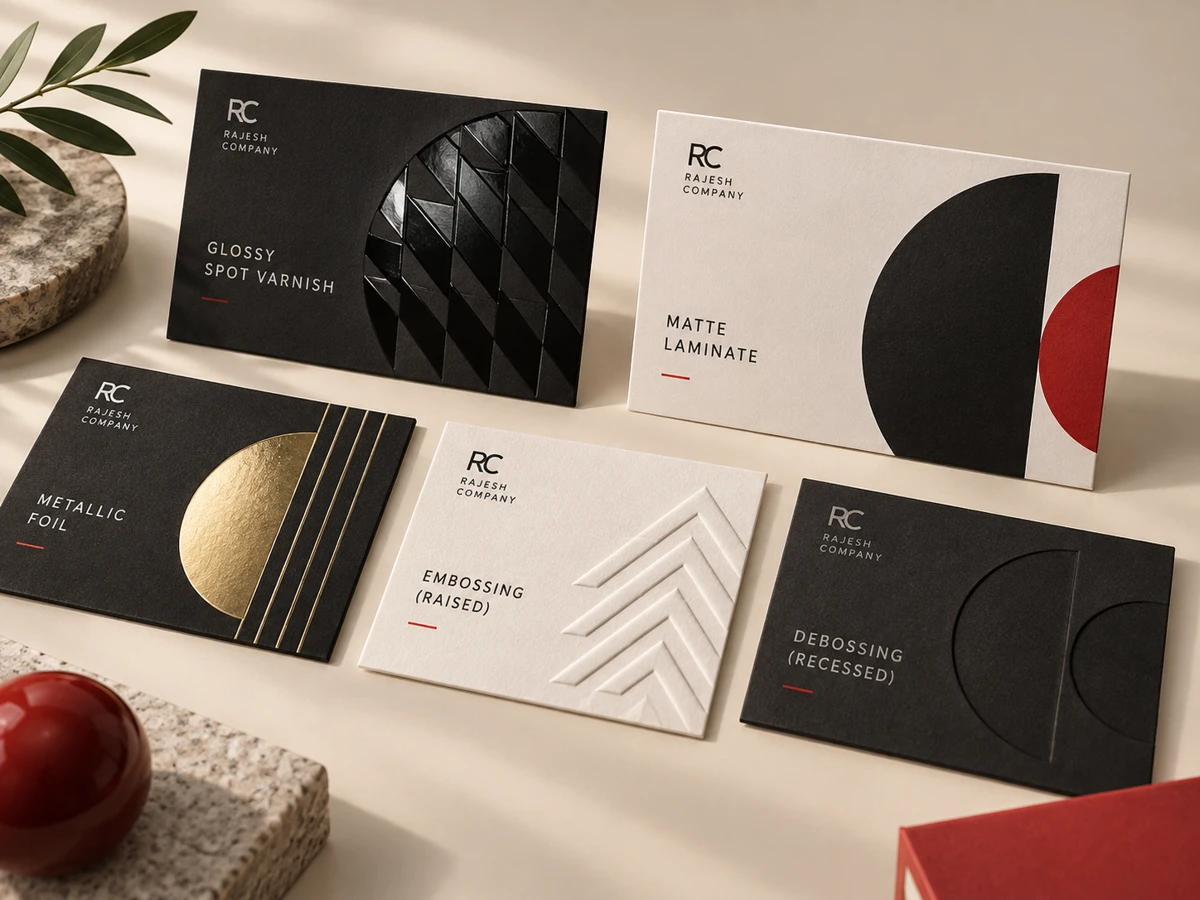
Lamination adds a film to the printed surface. Spot UV applies a varnish to selected artwork areas. Foil creates a metallic detail, while embossing or debossing gives a raised or recessed impression. These are distinct treatments rather than interchangeable effects.

Printed examples illustrating finishing

Explore the techniques

A closer look at the processes and the details to prepare for your project.

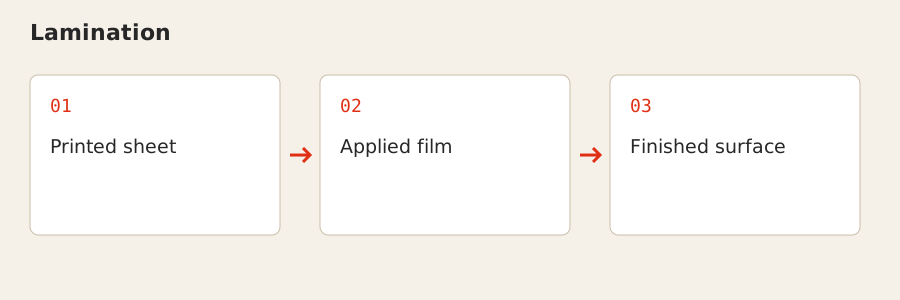
Lamination: Printed sheet → Applied film → Finished surface

Lamination

Lamination applies a film to a printed surface. It changes the handling and surface appearance of the piece; matte, gloss and soft-touch treatments have different visual and tactile effects.

For your project

Discuss the look and use of the piece before choosing a film. Keep important fold lines and binding requirements in the brief, because the finish is part of the overall construction.
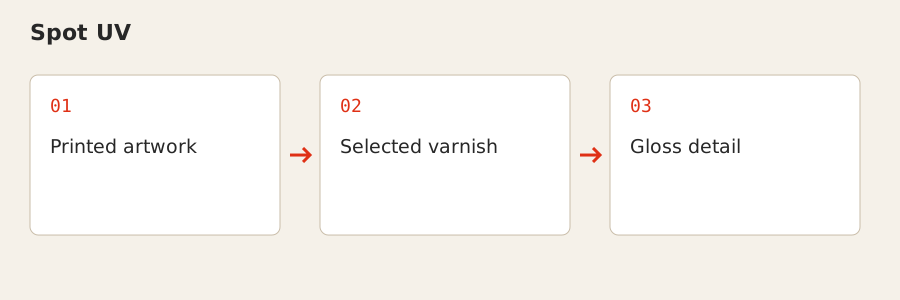
Spot UV: Printed artwork → Selected varnish → Gloss detail

Spot UV

Spot UV applies a varnish to selected areas of the artwork rather than treating the entire piece as one uniform surface. The contrast helps a logo, pattern or other detail stand out.

For your project

Supply a clear indication of the areas to receive the effect. Keep the main printed layout and the selected varnish areas aligned in the approved artwork.

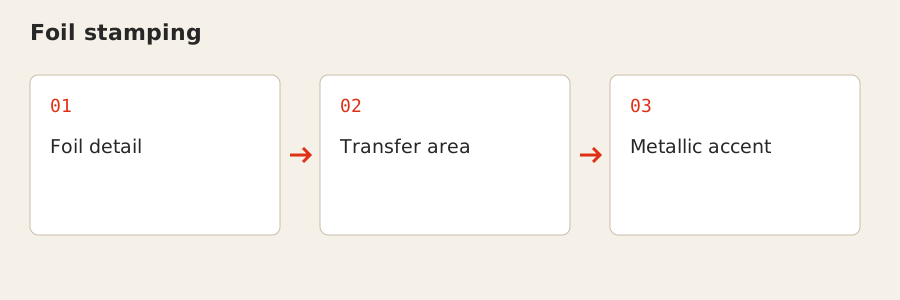
Foil stamping: Foil detail → Transfer area → Metallic accent

Foil stamping

Foil stamping transfers a foil detail onto selected areas of a piece. It creates a metallic accent distinct from a flat printed colour, making it suitable for small areas such as a title or logo.

For your project

Identify the foil areas separately from the main print. Share the material and artwork detail so the position, scale and finish can be discussed.

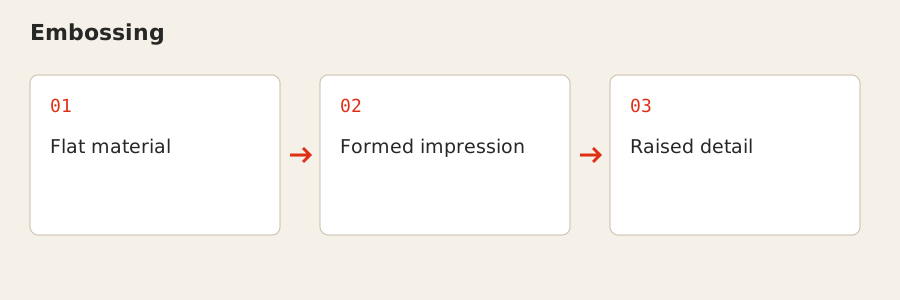
Embossing: Flat material → Formed impression → Raised detail

Embossing

Embossing forms a raised detail in the material. It changes the shape of the surface, rather than simply adding another printed colour to a flat sheet.

For your project

Use it where a tactile logo, title or pattern would suit the piece. Share the intended detail and substrate so the effect can be considered alongside printing and other finishes.

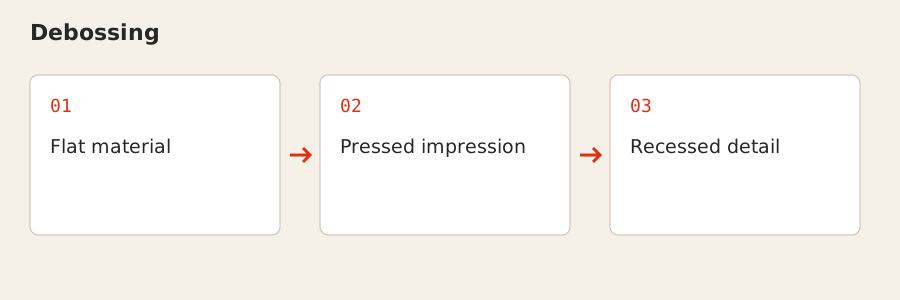
Debossing: Flat material → Pressed impression → Recessed detail

Debossing

Debossing forms a recessed detail in the surface. It is the opposite direction to embossing and gives a pressed-in effect that can be considered as part of a restrained cover or brand treatment.

For your project

Show the intended area in your design and include the cover or board choice. The depth and visual result depend on the material and construction rather than one universal setting.

Where it fits

  • Business cards with selected finishes
  • Book covers and presentation pieces
  • Packaging with decorative details
Explore related products →

Start with your project

Share your artwork or reference, finished dimensions, quantity and intended use. Include your delivery location and required date.